
Now that the stain was on the table, it
was time to put the pattern on. It was so tricky trying to figure out how to
get the pattern transferred to the table and how to make it look symmetrical. I
ended up cropping the original picture of the patterned dresser on the computer
to isolate one part of the design, as it is simply repeated and flipped (see
picture above). I printed out the image which I had also enlarged.

Next, I decided that for actually
transferring the pattern to the table I would need it to be on a large sheet of
paper, so I ended up using the back of wrapping paper (so cheap and readily
available!). I folded the paper in 8 squares to accommodate the pattern, as
pictured.

I made sure that as I folded the paper it
was sized right for my table (I had measured and sized the wrapping paper to
the size of the table prior to beginning).

To transfer the pattern which I had cropped, I used
a technique that I’d done as a kid in puzzle books and kids activity sheets,
called drawing using a grid. This involved drawing 8 further squares on both my folded wrapping
paper and on the printed pattern. I then copied the pattern square by square to the blank paper.
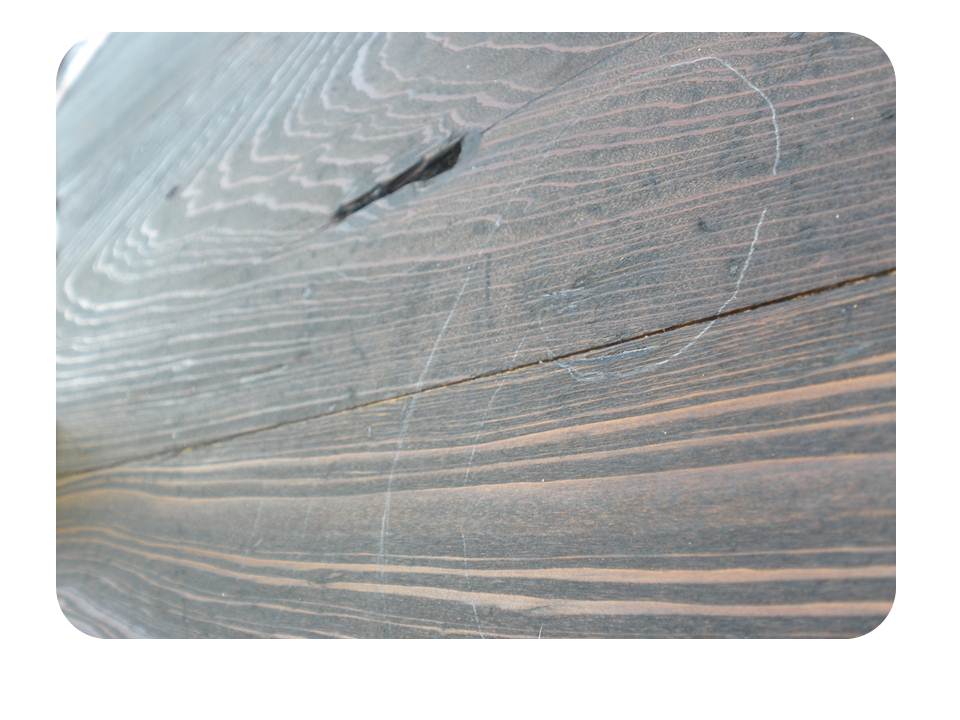
 |
| It's hard to see, but the 8 squares are drawn here. Below you can lightly see the pattern drawn. |

I decided to cut out the pattern. I think
I could have simply traced it with a pencil onto the table instead of cutting it out though, since the pressure of tracing
would be sufficient to transfer the pattern.
I ended up taping the cut out pattern to the table with blue painter’s
tape, which was a little tedious. Using a ruler to clean up the edge lines and make them more precise was
helpful too.

**NOTE** You may want to ensure that the
folds of the paper are lined up on the correct sides for when unfolding the
pattern. I messed this up and ended up with only one complete pattern. You may also want to be careful when tracing the pattern if the stain is still fresh. I made the mistake of wearing a good pair of jeans when I was transferring the pattern to the table. An emergency trip to the hardware store for mineral spirits saved the day, but it was a close call!

Once the pattern was traced on the table, it was time to paint! I used a large bottle of crème colored acrylic paint that I’d picked up at Wal-mart and a one inch bristle brush. Paiting does add to the rustic look- vinyl cutouts from something like a Cricut machine could provide a cleaner look.
I finished it all up with multiple coats of protective spray. Polyurethane comes in spray form and I personally found it so easy to use. I chose a satin finish, as I didn't want a really glossy look. The instructions said to apply at least 3 coats, and I think I applied about 6 coats by the time I was done, with about 30 minutes of drying time in between. The finished product turned out looking great!!
 |
| Before |
 |
| After |

No comments:
Post a Comment